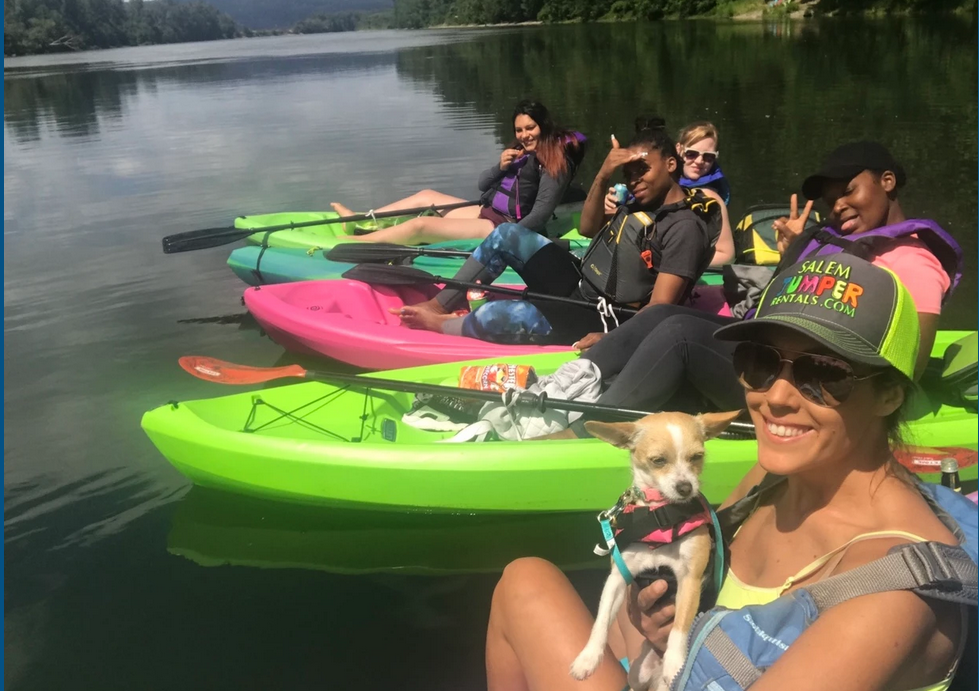
Picture it: The sun is out, the temperature is high, and you find yourself with a full day off and a bathing suit handy in Independence, Oregon. The water calls to you, shimmering in the reflection of the sun, and enticing you closer with a cooling breeze. There’s only one thing to do. After all, when nature presents an opportunity like this, who are we to turn it down?
Nothing quite beats a relaxing day of floating on our Willamette River. It’s fun for all ages (as long as you can swim) and can be as upbeat and fun, or quiet and ponderous as you choose. And with a drop-off point directly in front of The Independence Hotel, this favorite summer activity couldn’t be any more convenient for guests. However, I have a few recommendations to make your floating experience the very best it can be, so check out my top 10 tips below, and book your stay with us at in advance. Summers are precious here in Oregon, and we can’t wait to help highlight the season for you!
10 Tips for Floating the Willamette River:
1. Plan your route ahead of time
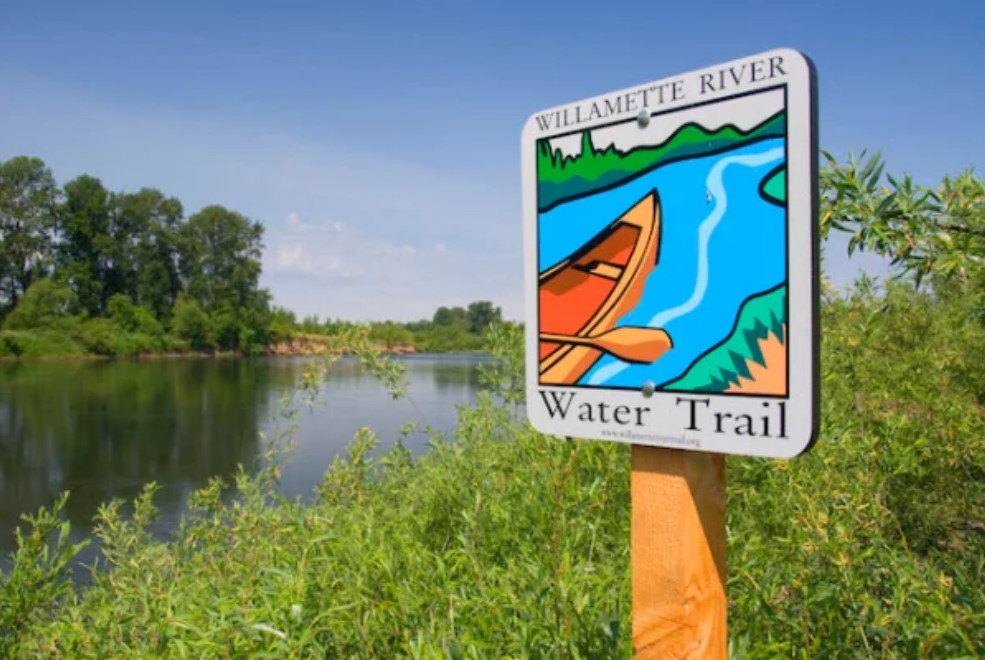
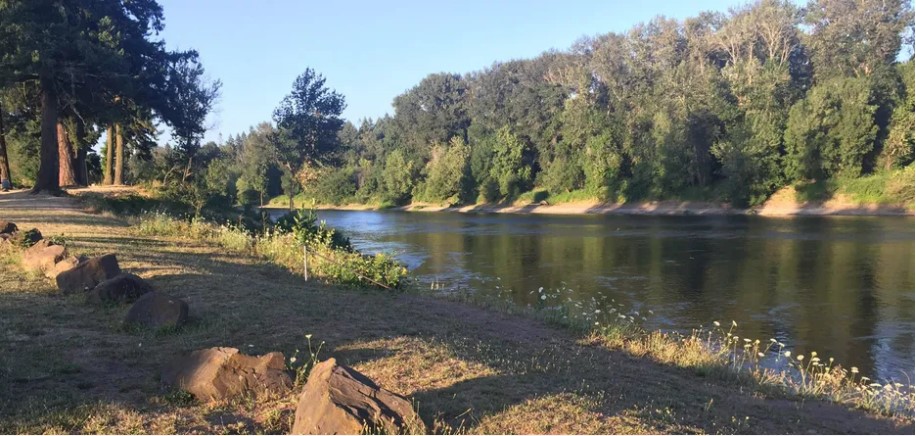
There are countless stretches of the Willamette River you can float down, and a good resource for pinpointing every boat ramp, parking lot, and restroom for your convenience is the Willamette Water Trail. Keep in mind though that while longer routes will obviously take more time, you can stretch any portion of the river to last as long as you’d like, depending on how many stops you make to swim, sunbathe, eat lunch, etc. So if you are a first time floater, we recommend trying a shorter route, such as the two(ish)- hour stretch that starts directly in front of the hotel and extends to Social Security Fishing Hole.
*Note: The Willamette River is known in this area as one of Oregon’s lazy rivers. So while certain stretches may have a few more rapids than others, this is not the location to choose if you’re hoping for a lot of white water or an adrenaline rush.
2. Float with a Friend – 2 Cars for the best float experience?
Having access to two cars is the best way to plan a float. So, find a friend with a car and make a plan!
Two cars – Car A and Car B:
Both cars drive to the ending point of the float route. (So for the route I suggested above, both cars would drive to Social Security Fishing hole, about a 10-minute drive from the hotel.) Car B is left at the end point with no floating equipment other than towels, a change of clothes (if you want) and the driver’s license of whomever drove Car B. (Make sure the car is locked and any valuables are kept out of sight in the trunk.)
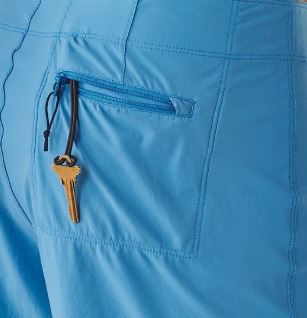
Driver of Car B should be careful to place their key somewhere it won’t fall out. (A pocket that zips, a dry bag, etc.) But don’t forget to bring that key on the float!
If there is a way to remove any key fobs from physical keys, that is ideal as it will get wet. But if that’s not an option, a dry bag can be used. Just put the key/fob itself in a sealed Ziploc bag as well for extra precaution.
All participants then drive back to the start of the float in Car A. Here you can inflate your raft(s) with either a manual or electrical pump. We recommend the latter though, and you can find some that plug into your car or are battery powered. Battery Powered options are extra helpful if you need to re-inflate the raft as you go.
Note: Don’t forget to bring your car key with you on the float so you can drive home.
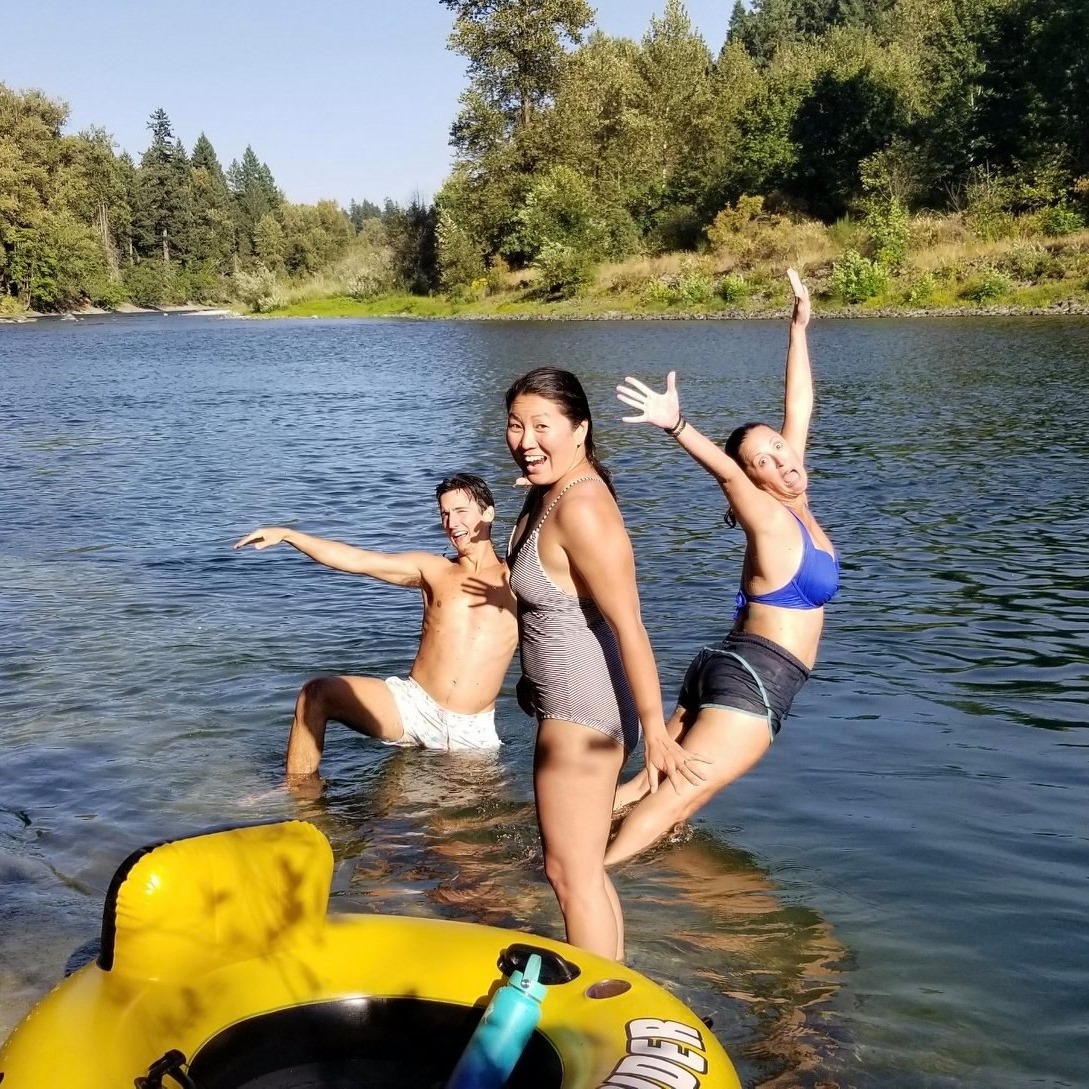
Your blog-writer/float guide, Lucy on the right, falls into the water with gusto!
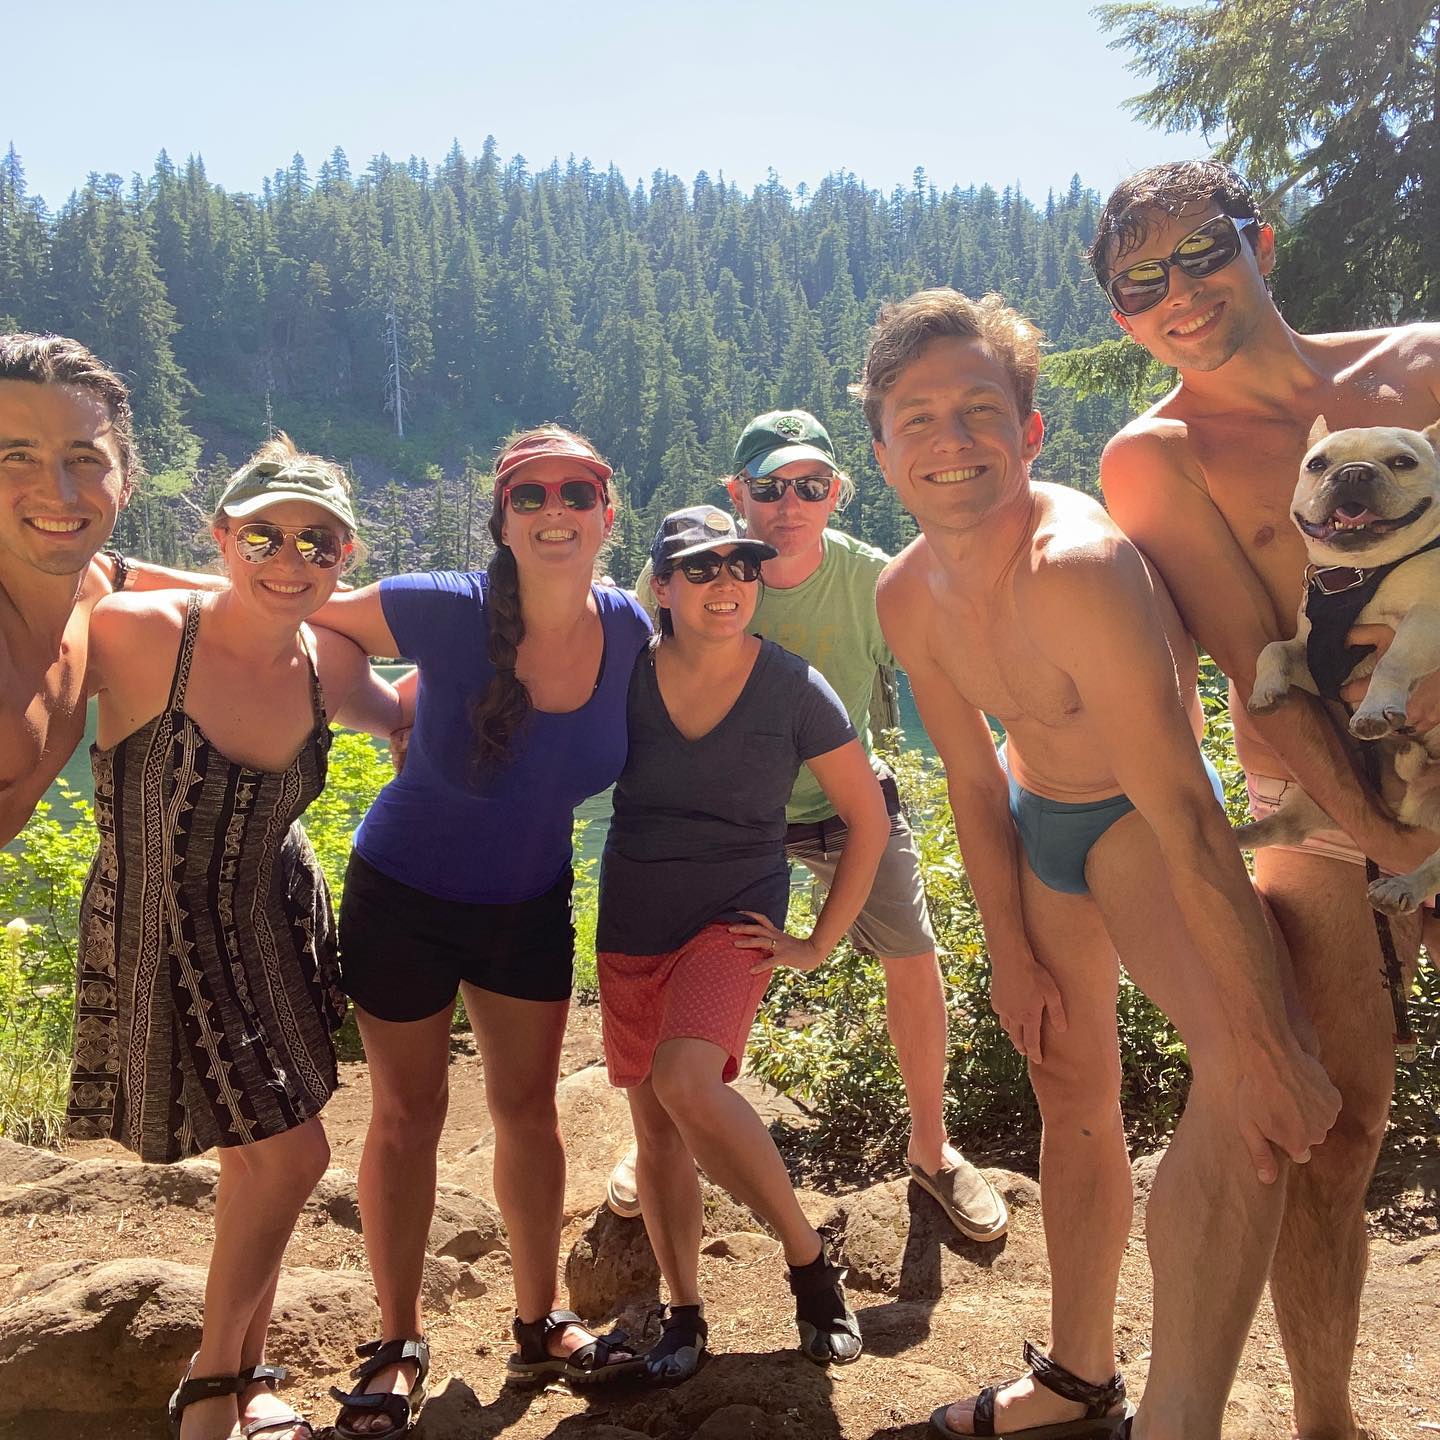
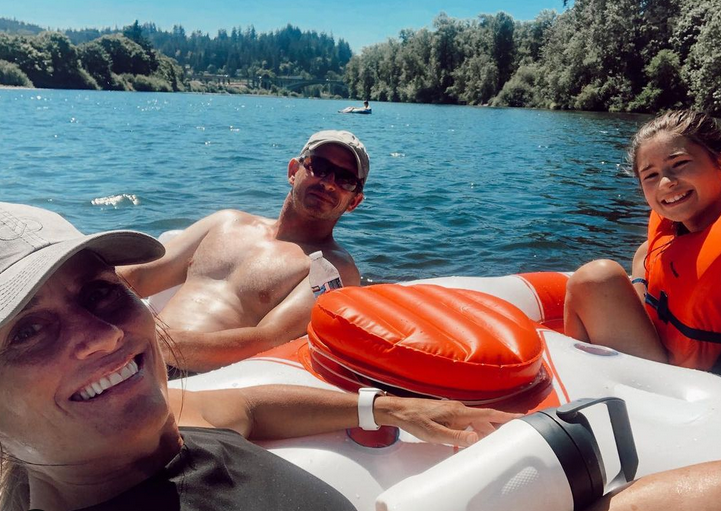
Your float guide (Lucy in the center) with fellow float-enthusiasts, soak in the sun!
3. Choose your raft with intent
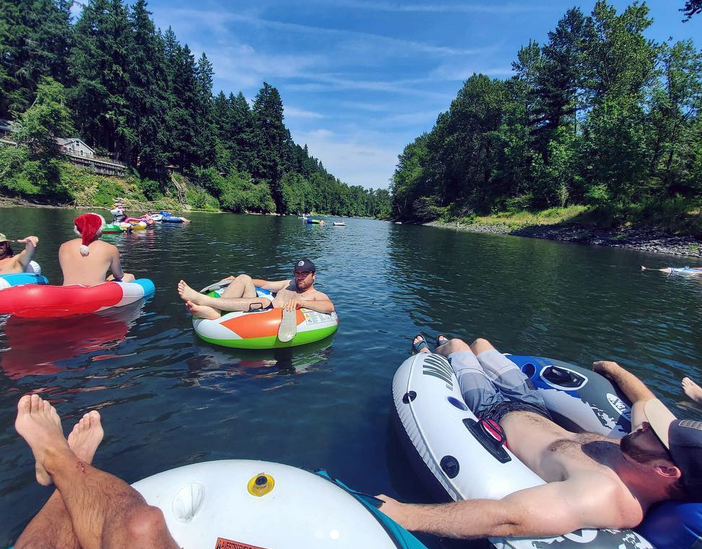
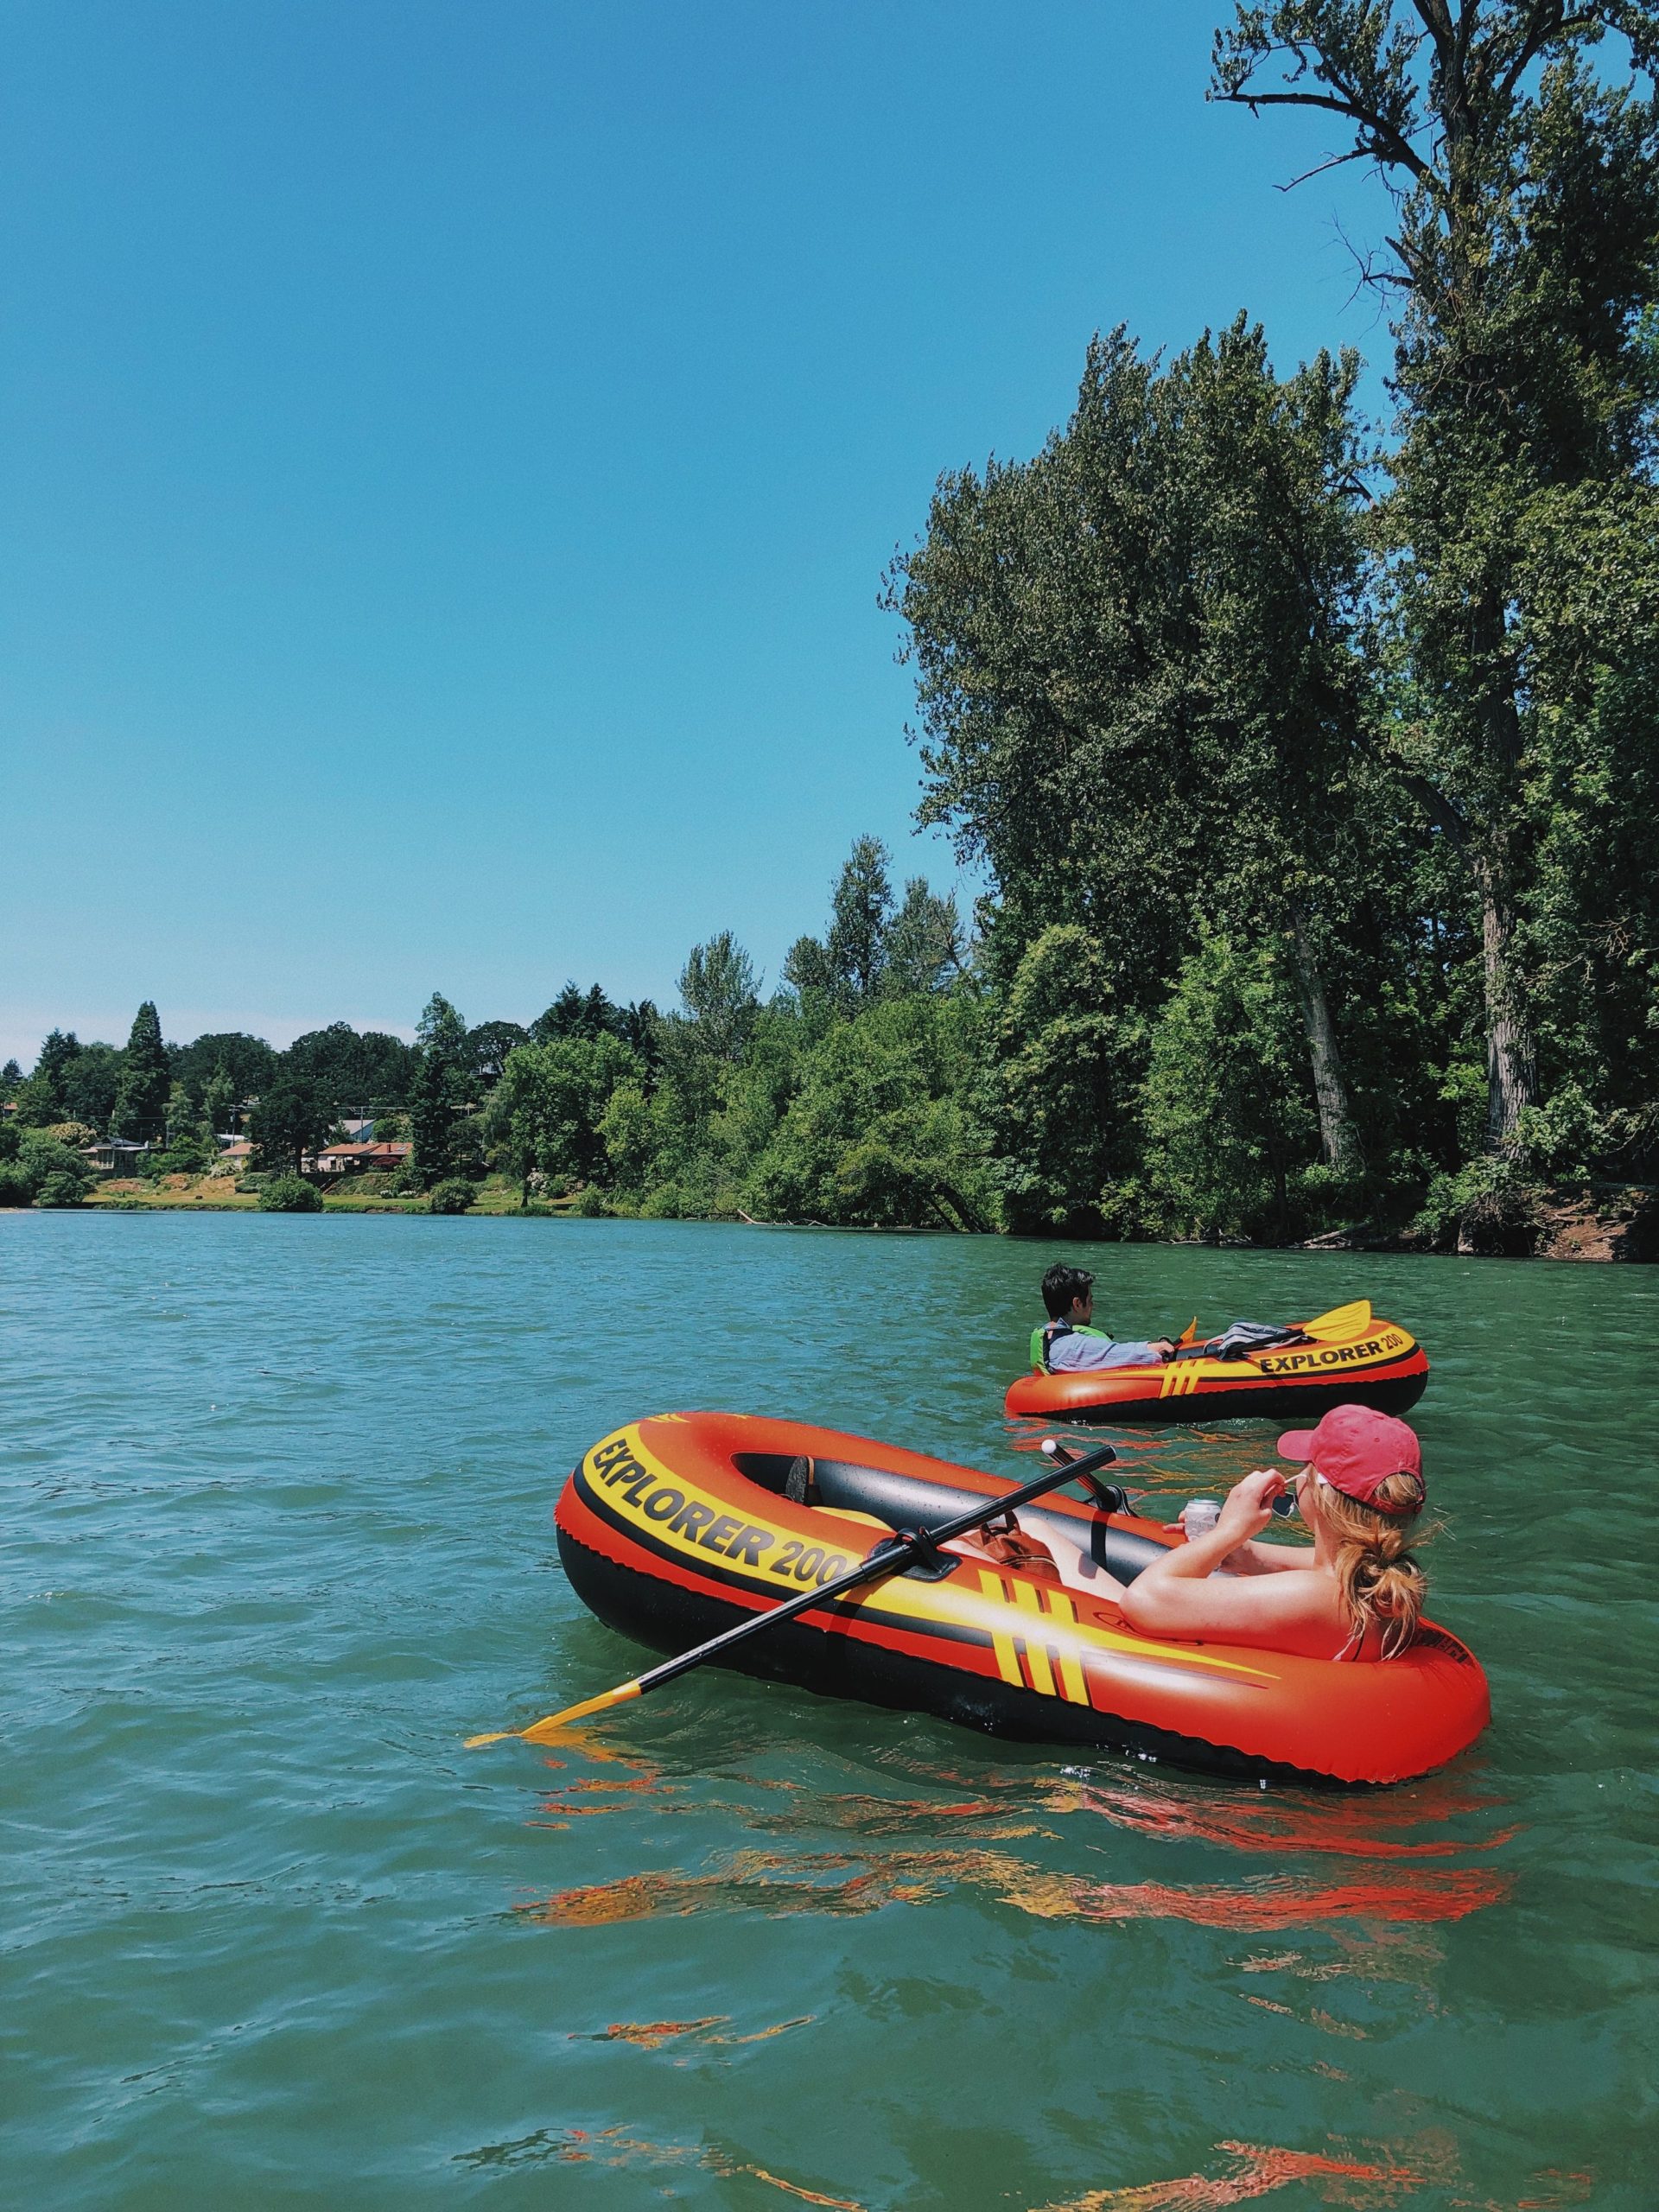
What raft you choose can make or break your float. For example, if you’re independent and want to maneuver around easily or paddle off for some quiet time away from the rest of your group, an inner tube is a good way to go. They’re easier to move about the river and keep you in the water more if you tend to over-heat. They also need a lot less air to inflate, so they’re ideal for manual pumps. Best bonus? They are usually very affordable (I got mine from Fred Meyer for $20) and they last for years. The downsides to inner tubes are that you will be partially submerged for the entire float, and the water in Oregon, even in the summer, is chilly. So if you get cold easily, this might not be the option for you. Inner tubes are also best for individual use, so while you can tie up your raft with a friend’s, you will still be in charge of maneuvering yourself whenever the situation calls for it.
*Note: When purchasing an inner tube, we recommend one with a headrest (also inflatable), and netting in the center so you don’t have to keep yourself up. This day is for relaxing!
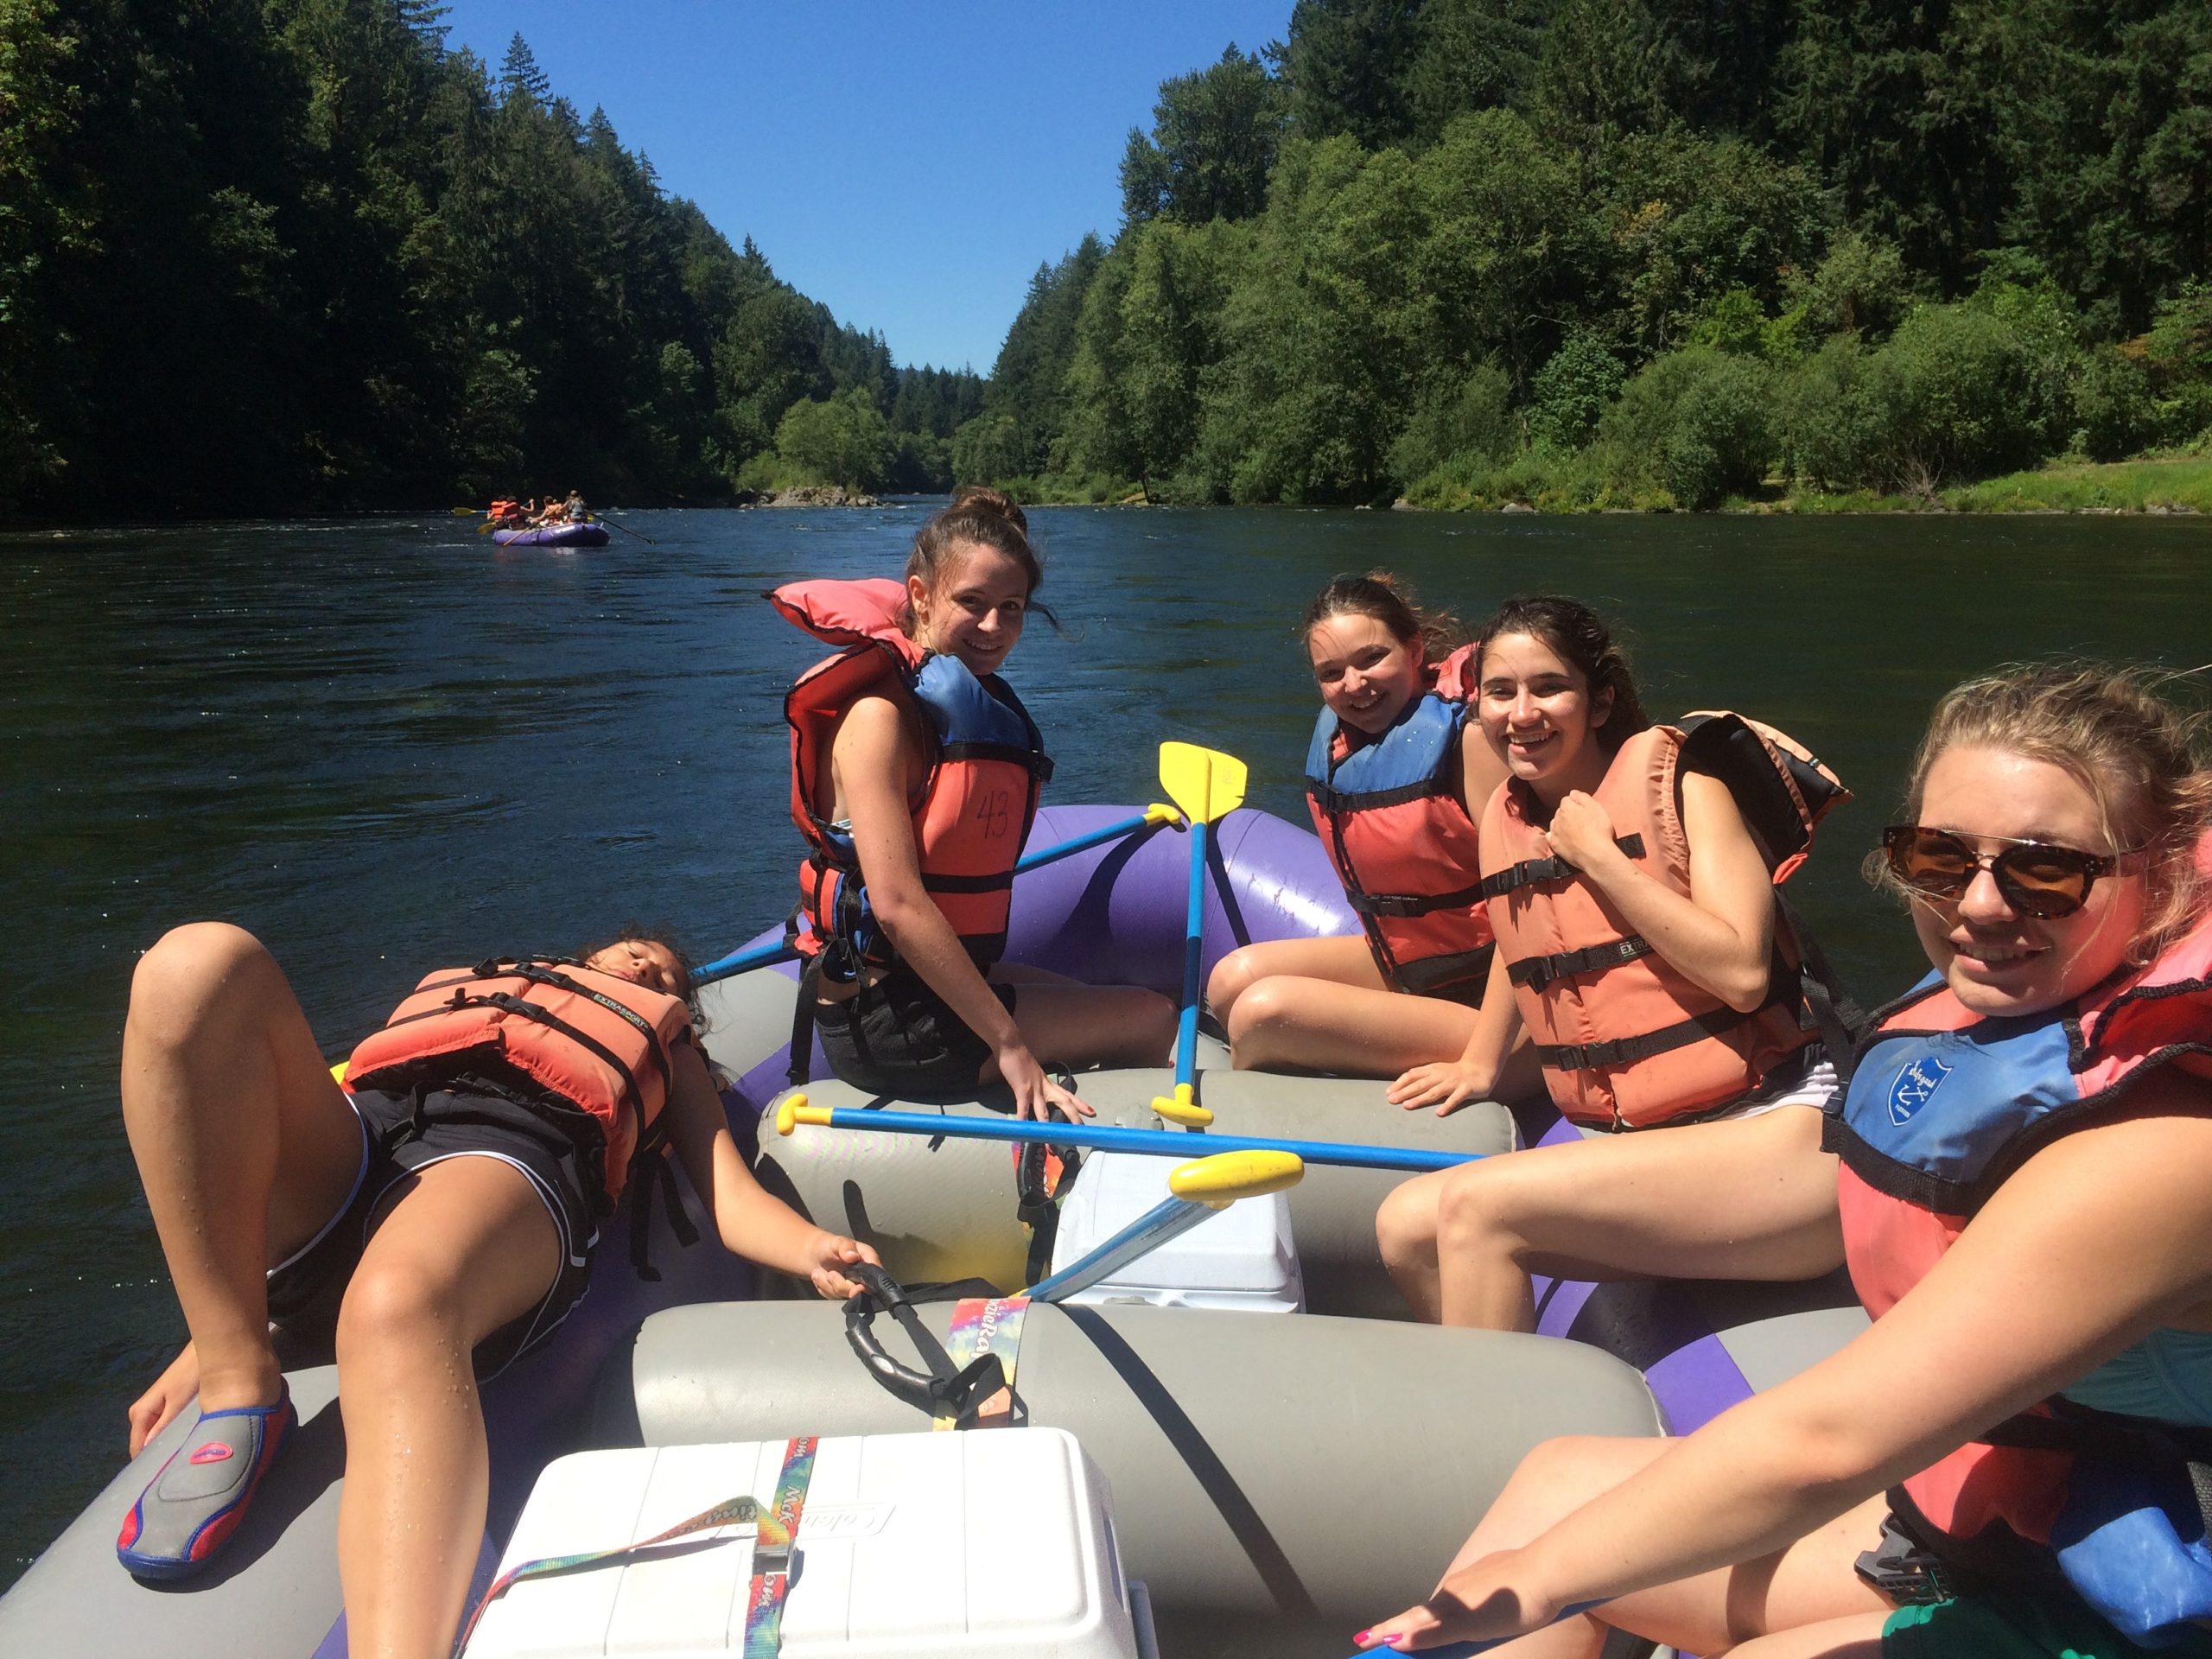
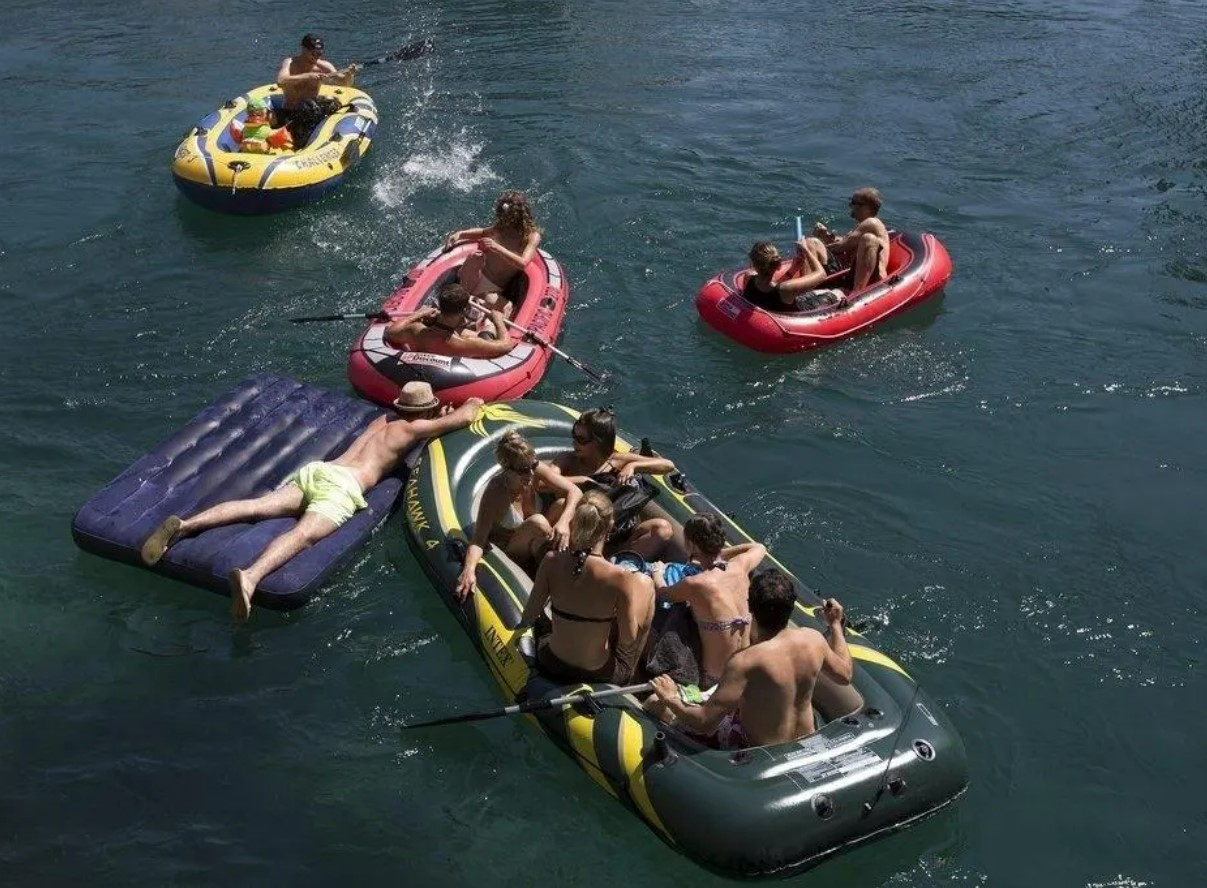
If you want more of a group-feel, there are plenty of larger rafts out there. Some of these include overhangs for shade, cup holders, water-misters, and coolers built to fit right into the raft for all of your beverage needs.
*Note: If you going with an inner tube, you can purchase an additional floating cooler and attach it.
4. What to bring
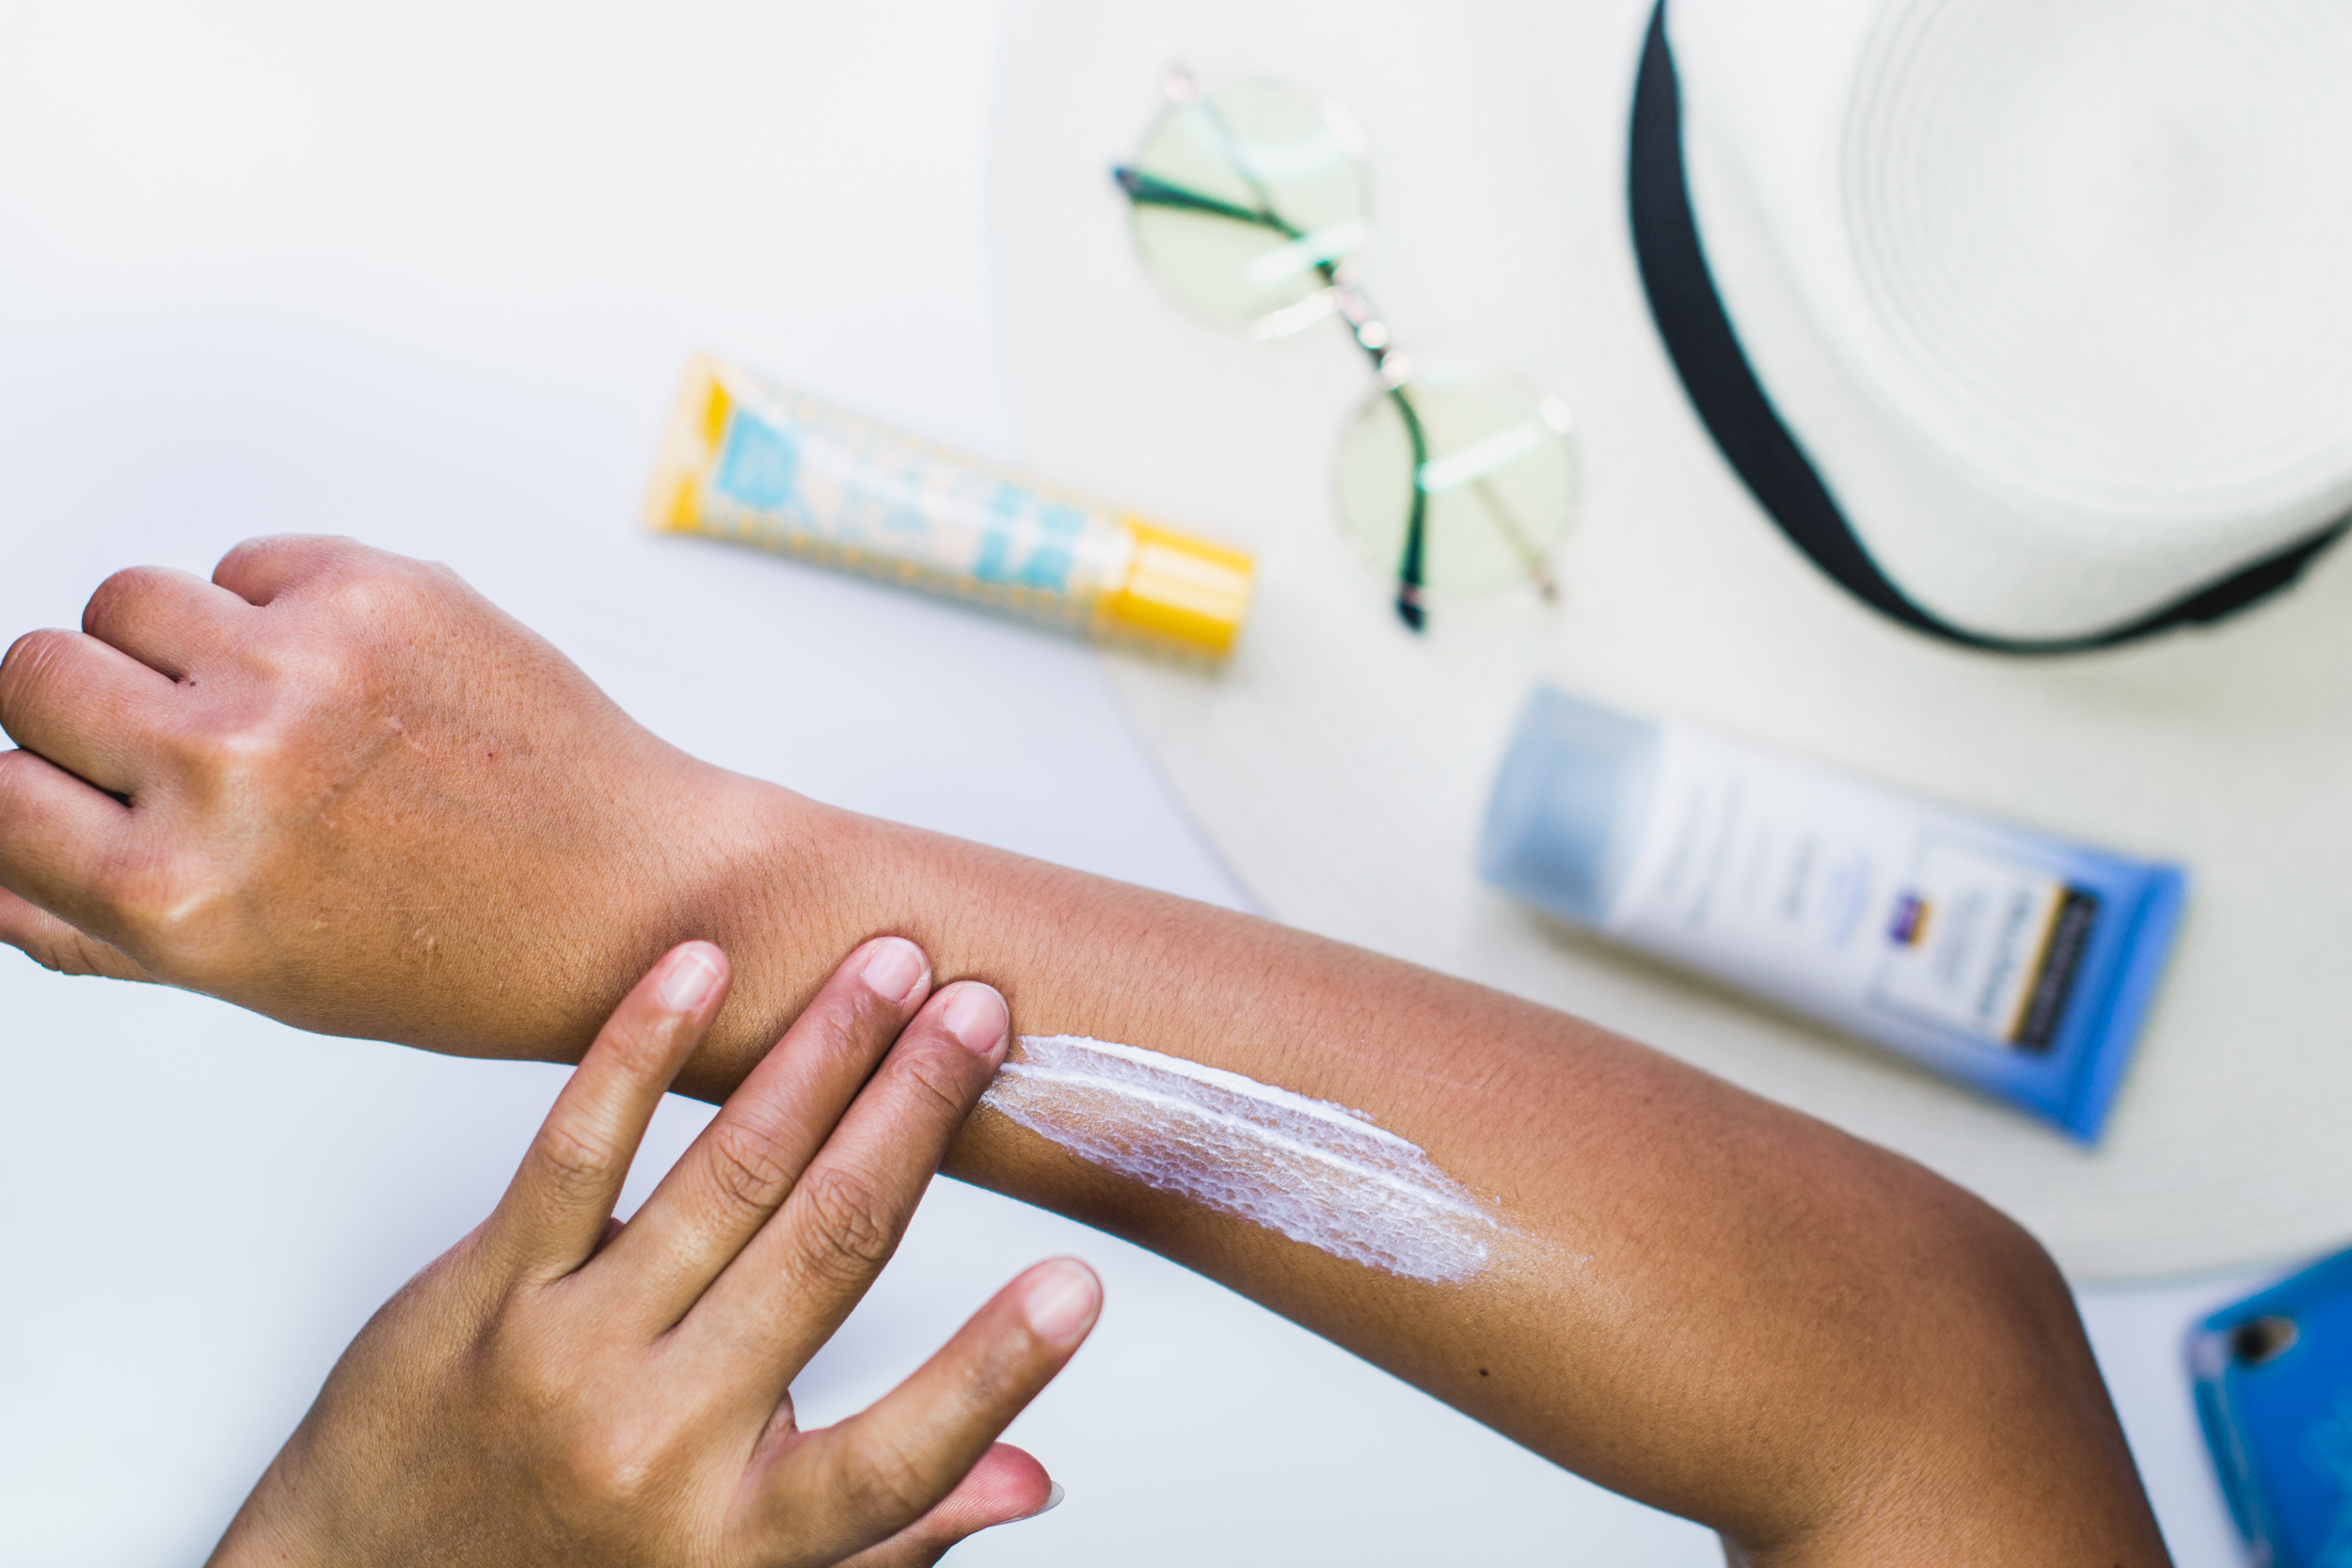
- Sunscreen: Apply it often, even (and sometimes especially) when it’s cloudy. Those rays will sneak up on you. If you stop to swim, reapply after. We recommend checking out reef safe sun block selections to keep the water and life within it healthy.
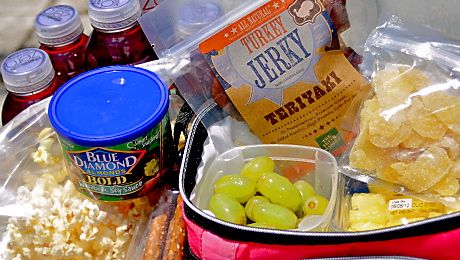
- Snacks: If you’re planning to make a day of it, you will want snacks and maybe even lunch during one of your stops. Chips or anything in a sealed bag are great if you don’t want your food to get soggy, as well as fruit, veggies, or any sandwiches in sealed containers. For beverages, we recommend packing a cooler with ice packs to keep everything cold.
- Layers: If you’re taking a bigger raft, or if you have a dry bag that will fit any additional clothes, a long sleeved shirt, hat, and sunglasses are good choices to bring on the river. Just don’t bring anything you’re not prepared to get wet or lose, as things do tend to fall off the raft every now and again. For those traveling by inner tube, you can always inflate an extra tube and tie your dry bag with snacks and clothes to that.
- Inflating device: Bringing an extra pump (battery powered or manual) is helpful in case of any small holes opening up mid-float. You can also use duct tape to patch those up!
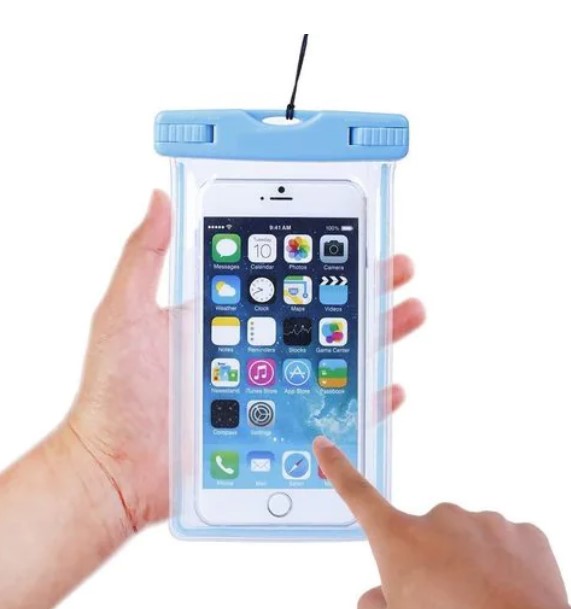
- Camera: If you want to take pictures, try a waterproof camera, or keeping your phone in a waterproof case at all times. There are lots of perfect picture moments on a float, but whatever you bring will get wet, so keep that in mind.
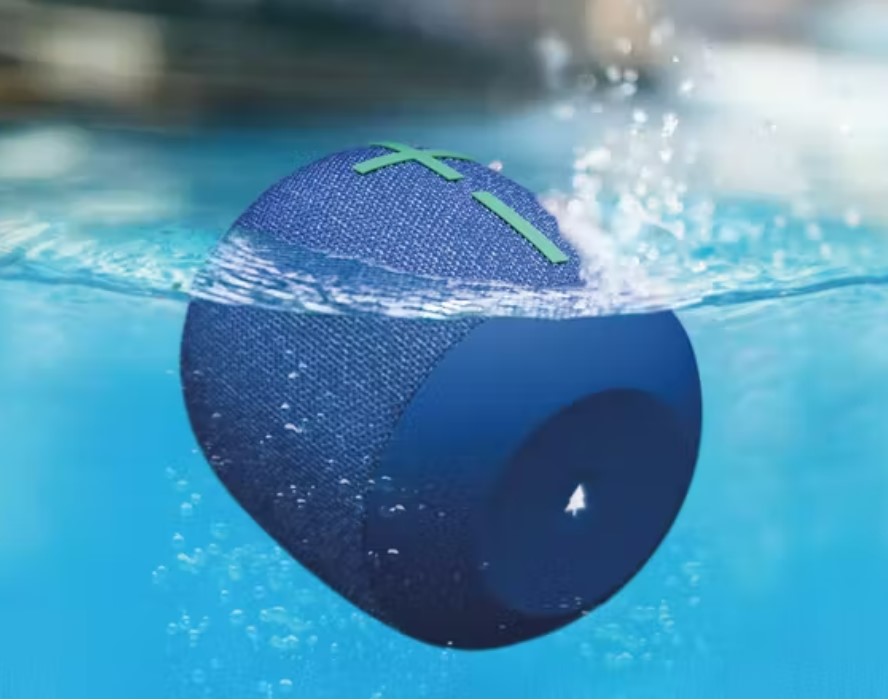
- Tunes: If you’d like to listen to music during your float, a phone in a waterproof case and a waterproof Bluetooth speaker are great ways to go. Just be respectful of the other groups around you, who might be hoping to take in the subtle sounds of nature.
- Paddles: Even though the Willamette River is slow and peaceful, there may be times you want to be able to maneuver during your float. This might mean paddling over to a friend to say hi, or paddling to the shore for a lunch break. Luckily, you have plenty of options. Traditional paddles work for larger rafts, although if you’re on a budget, I have discovered that a kitchen broom can also work very well (don’t knock it till you try it!). And for smaller rafts, believe it or not, all you need to paddle are some flip-flops that you can hold onto and use for extra momentum. Just make sure to keep them inside the inner tube whenever not actively paddling.
*Note: If you’re having a hard time maneuvering on an inner tube, I find that paddling backwards helps as this allows the front of the raft to remain top-heavy, creating less drag.
5. Don’t Rush
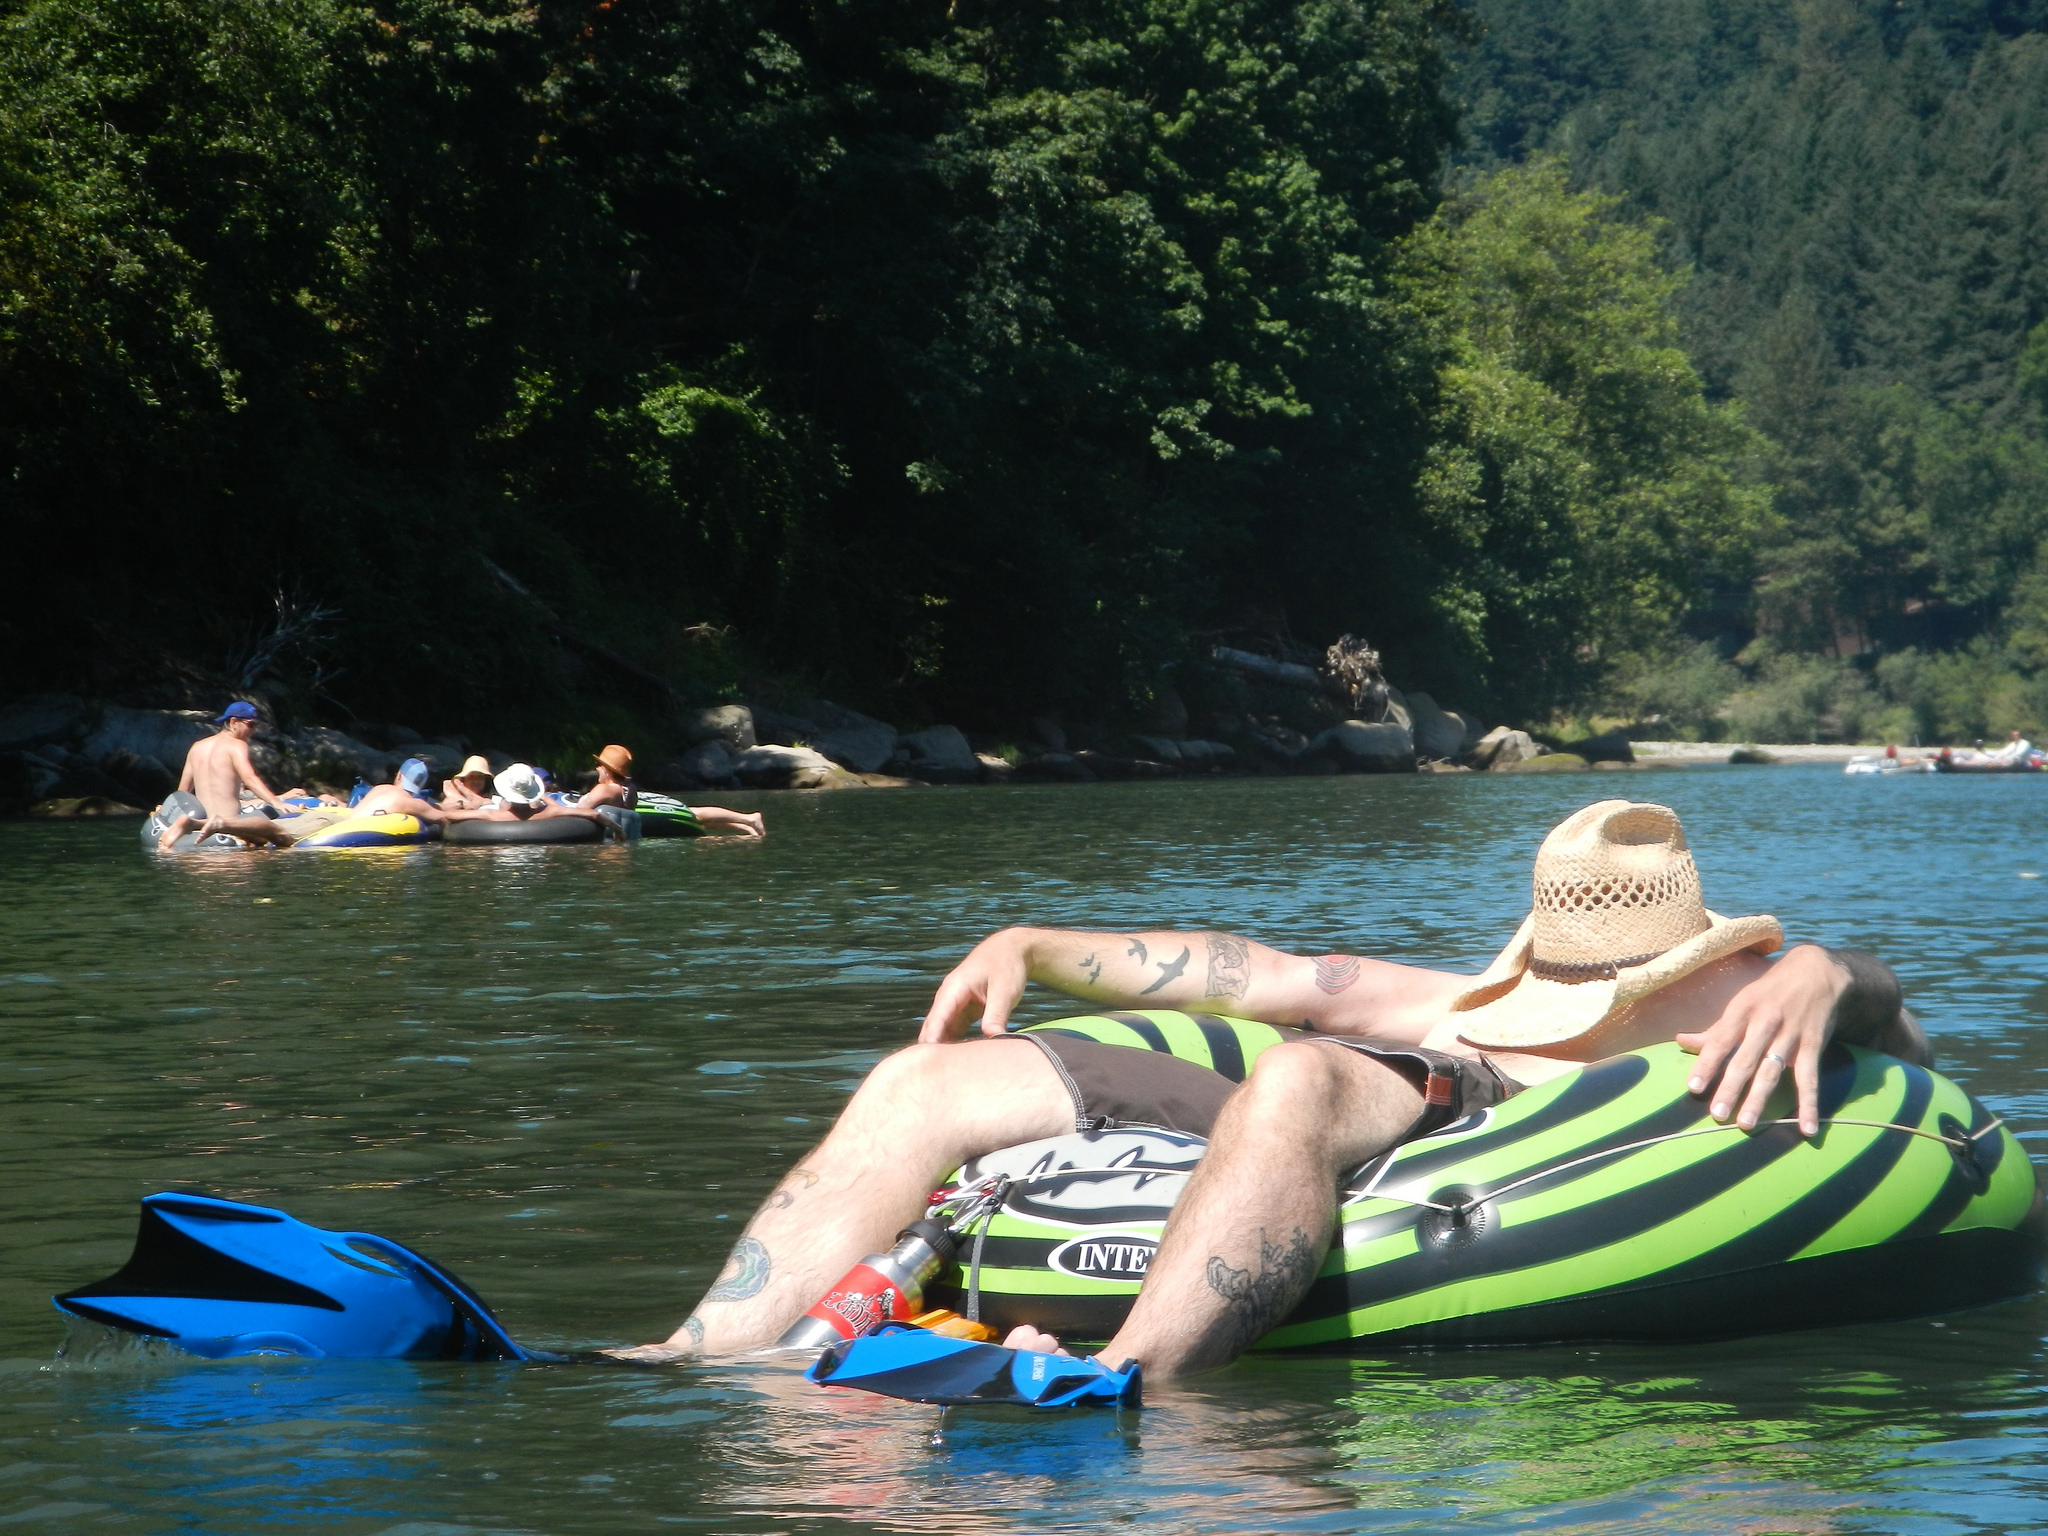
It’s always fun to race down a river and feel the wind on your skin, but one of the biggest perks to floating is that unlike faster modes of transportation, floating allows you to take your time and bask in the beauty around you. So while you can use your paddles to speed up or maneuver whenever you need, take some time to just relax. Make stops. Swim. Have lunch. Start to notice the little things. What birds can you spot? Do you see any fish? Can you rest on a warm rock and let the sun dry you off from your cool dip?
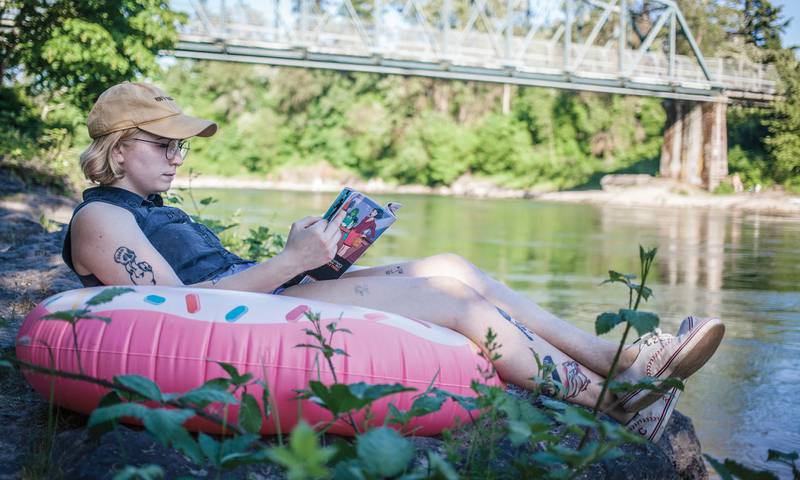
6. Watch the water
- Even with slower, lazier rivers, always keep an eye on the water. Be aware of other boaters, kayakers, floaters, and swimmers, and take note of where the water pools or is moving faster. This will also help you adjust your speed. The faster water is moving or shifting to one portion of the river, the faster the current is flowing tthere. If you want to slow down, paddle to the side of that current until you are out of it and hang out for a bit. Conversely, if you’re behind and want to catch up with your party, currents make a fun fast-pass lane. Paddling towards the currents is also helpful whenever the water gets too shallow.
- To quote the wise Samuel L. Jackson in Jurassic Park, “Hold onto your butts!” If you see shallow water and you’re floating in a low raft, press your legs into the raft and lift your butt up as the rocks can become shallow. Nothing helps put a downer on the day like a solid tailbone smack.
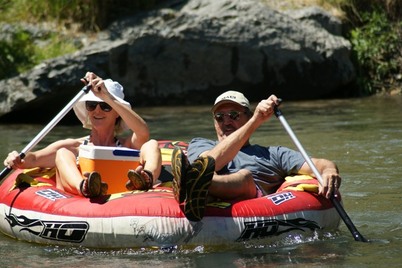
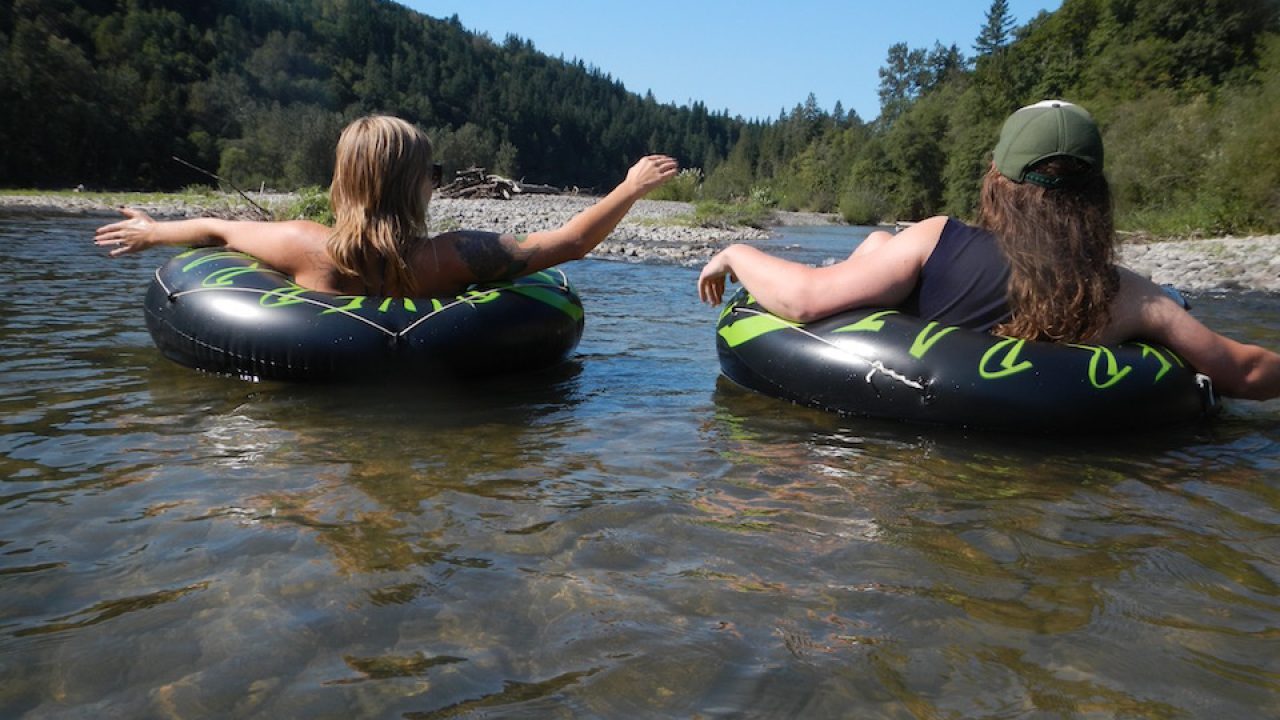
7. Don’t go alone
Even if you have a ride to the river and could potentially be dropped off, it’s important when participating in any water activity to stay with a buddy the whole time. Someone who can wake you up if you fall asleep near the end, or tandem with you if your raft deflates. Plus, it’s more fun with friends!
8. Don’t forget the keys
I’ve already mentioned this a few times, but I cannot stress it enough. Remember to bring your key with you on the float, and keep it somewhere it can’t slip out (so no pockets unless they have zippers). I have seen countless people stranded at the end of the float because they either left the key to their second car in the first, or they lost the key along the way.
9. Check the weather
Floating is such a perfect way to spend those sunny, warmer days, but once you start, you’re committed to seeing it through, so just make sure there isn’t rain or a major drop in temperature in the near forecast when you begin.
10. Have Fun!
When all is said and done, these rules are just to help ensure you have a good time. So take what’s helpful, but then get on that river and see where the current takes you this summer!
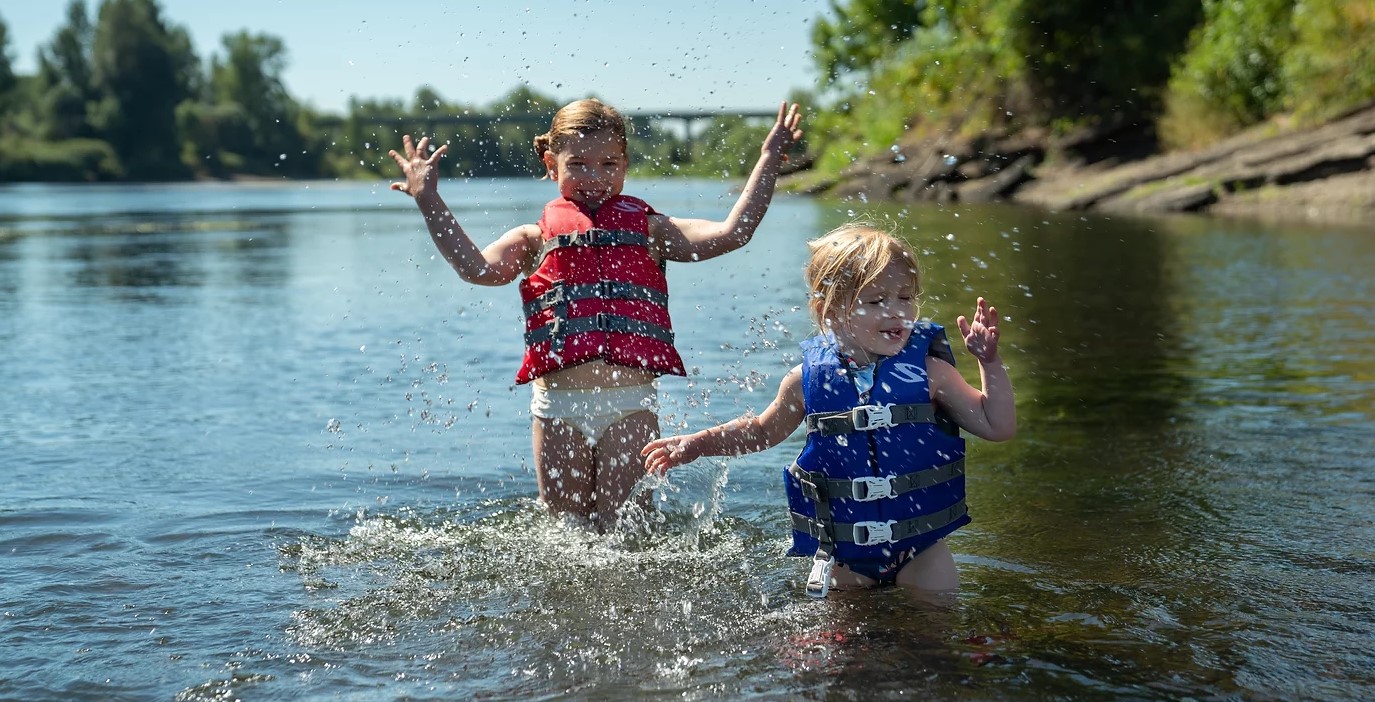
Photo from Travel Oregon
